
Are you struggling to capture screenshots on your device? Whether you're a tech-savvy individual or a novice user, knowing how to take screenshots can be incredibly useful in various situations. In this article, we will provide you with a detailed and comprehensive guide on how to screenshot on different devices and operating systems. So, let's dive in and discover the various methods to capture screenshots effortlessly!
Before we delve into the specifics, it's important to understand what a screenshot is. In simple terms, a screenshot is a digital image of your screen's current display. It allows you to capture and save a snapshot of whatever is visible on your screen, be it a webpage, an app, or a document. Screenshots are handy for a multitude of purposes, such as troubleshooting technical issues, creating tutorials, sharing content on social media, or simply saving important information for later reference.
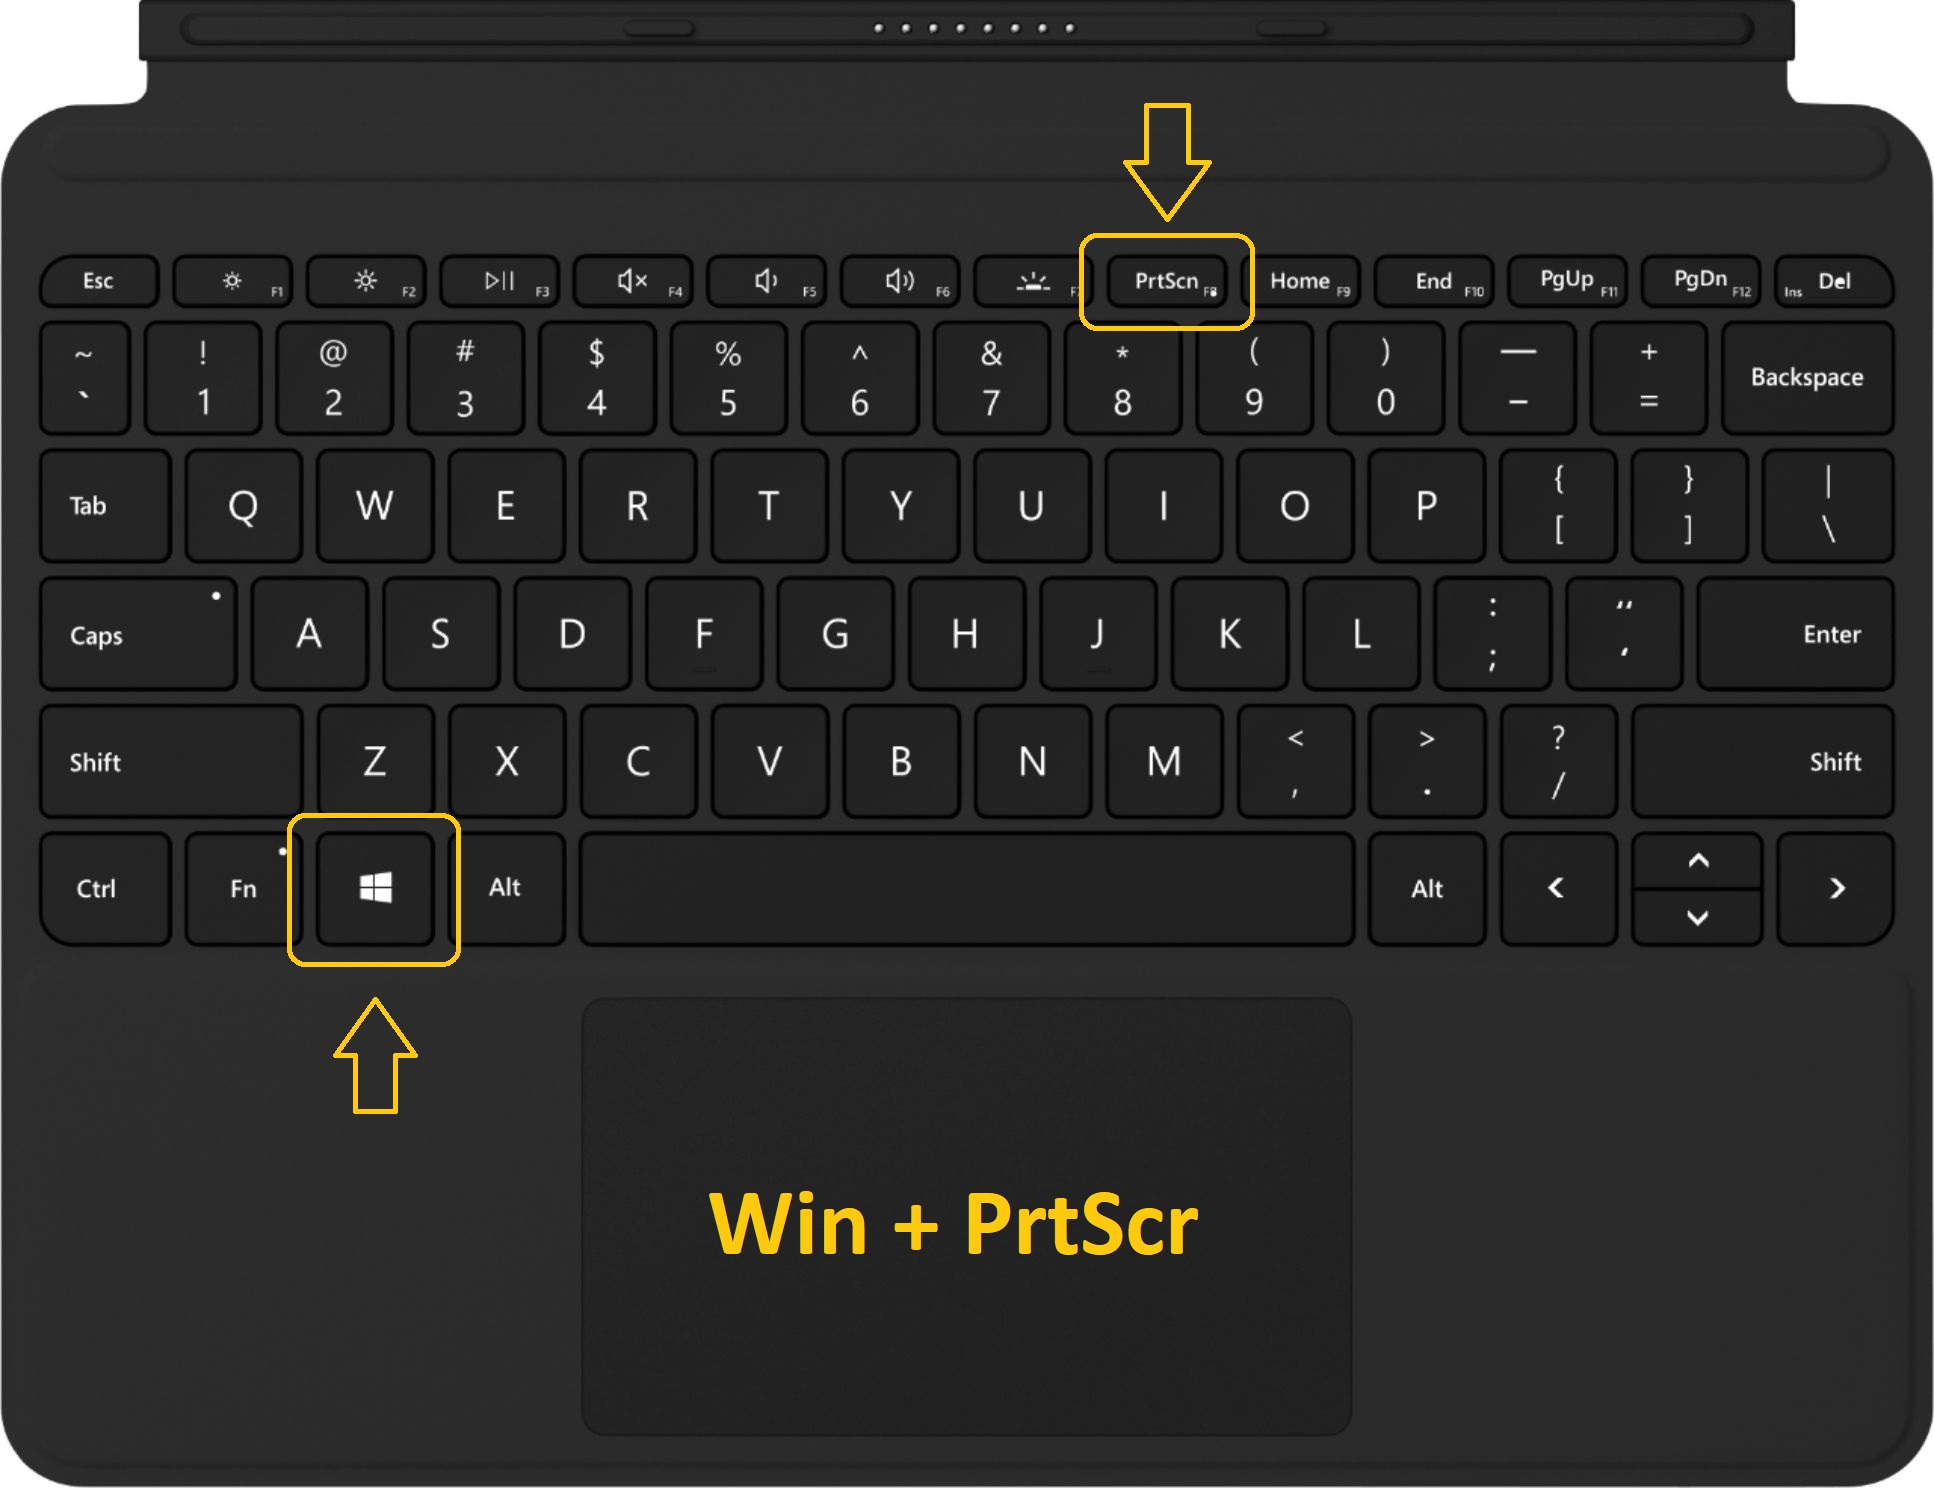
How to Screenshot on Windows
In this section, we will explore the different methods to capture screenshots on Windows computers. We will cover using the Print Screen key, the Snipping Tool, and the Windows 10 Snip & Sketch feature. Each method offers unique advantages and is suited for various scenarios.
Using the Print Screen Key
The Print Screen key is a simple and widely used method to capture screenshots on Windows. When you press the Print Screen key, it captures an image of your entire screen and copies it to the clipboard. To save the screenshot, you need to open an image editing program such as Paint, paste the screenshot from the clipboard, and then save it as an image file. This method is suitable for capturing a full-screen screenshot quickly.
Using the Snipping Tool
The Snipping Tool is a built-in screenshot tool available in Windows that provides more flexibility in capturing screenshots. To access the Snipping Tool, simply search for it in the Windows search bar. Once opened, you can choose from different snipping modes, including Free-form, Rectangular, Window, or Full-screen snip. After capturing the desired area, you can annotate, save, or share the screenshot directly from the Snipping Tool. This method is ideal for capturing specific portions of the screen or adding annotations to your screenshots.
Using the Windows 10 Snip & Sketch Feature
If you're using Windows 10, you have the advantage of the Snip & Sketch feature, which offers an even more streamlined way to capture and edit screenshots. To access Snip & Sketch, press the Windows key + Shift + S. This will open a small toolbar at the top of your screen, allowing you to select the desired snipping area. Once captured, you can use the built-in editing tools to annotate, crop, or highlight parts of the screenshot. Snip & Sketch automatically saves your screenshots, making it convenient for quick and efficient screen capturing.
How to Screenshot on Mac
Mac users have several options when it comes to taking screenshots. We will discuss how to use the keyboard shortcuts, Grab utility, and Preview application to capture screenshots on your Mac device. These methods are straightforward and will help you effortlessly capture and save screenshots on your Mac.
Using Keyboard Shortcuts
Mac provides convenient keyboard shortcuts to capture screenshots without the need for any additional tools. To capture a full-screen screenshot, press Command + Shift + 3. The screenshot will be saved as a file on your desktop. For capturing a specific portion of the screen, press Command + Shift + 4. This will change the cursor to a crosshair, allowing you to drag and select the desired area. To capture a particular window or menu, press Command + Shift + 4 + Spacebar, and then click on the window or menu you want to capture. These keyboard shortcuts make screenshotting on Mac quick and effortless.
Using the Grab Utility
Mac also offers a built-in utility called Grab that provides additional screenshot options. To open Grab, go to Applications > Utilities > Grab. Once opened, you can choose from various screenshot options, including capturing the entire screen, specific windows, or a selection. Grab also allows you to set a timer for delayed captures and provides a magnifier for precise selection. After capturing the screenshot, you can save it as an image file. The Grab utility is useful for users who prefer a graphical interface for capturing screenshots on Mac.
Using the Preview Application
Another method to capture screenshots on Mac is by using the Preview application. To access Preview, simply open it from the Applications folder or use the Spotlight search. Once opened, go to File > Take Screenshot and choose from three options: From Entire Screen, From Selection, or From Window. After selecting the desired option, Preview will capture the screenshot, and you can edit, annotate, or save it as an image file. The Preview application provides a user-friendly interface for capturing and editing screenshots on Mac.
How to Screenshot on Android
If you own an Android device, you'll be pleased to know that capturing screenshots is a breeze. We will guide you through the various methods available on Android phones and tablets, including using the hardware buttons, Quick Settings, and Google Assistant. With these options at your disposal, you'll never miss an opportunity to screenshot on your Android device.
Using Hardware Buttons
The most common method to capture a screenshot on Android is by using the hardware buttons. The exact combination of buttons may vary depending on the device manufacturer and model, but the common method is to press the Power button and Volume Down button simultaneously. Hold the buttons for a moment until you see a visual indication, such as a screen flash or a shutter sound. The screenshot will be saved in the device's gallery or notification panel, depending on the Android version. This method is suitable for users who prefer a physical button approach.
Using Quick Settings
Many Android devices offer a convenient way to capture screenshots through the Quick Settings panel. To access Quick Settings, swipe down from the top of your screen with two fingers or swipe down once and then swipe down again with one finger, depending on your device. Look for the Screenshot icon or the Capture icon, which resembles a phone screen with a dotted outline. Tap on the icon, and the device will capture a screenshot. You can then access the screenshot from the notification panel or the device's gallery. This method is quick and easily accessible, making it a popular choice for many Android users.
Using Google Assistant
If your Android device has Google Assistant enabled, you can also use voice commands to capture screenshots. Simply say, "Hey Google" or press and hold the Home button to activate Google Assistant. Once activated, you can say, "Take a screenshot" or "Capture the screen." Google Assistant will capture the screenshot and provide options to edit, share, or save it. This method is particularly useful when you need to capture a screenshot hands-free or when the hardware buttons are not easily accessible.
How to Screenshot on iPhone
iPhone users don't have to worry either, as capturing screenshots on iOS devices is simple and intuitive. We will walk you through the steps to screenshot on iPhones with and without a Home button. Additionally, we'll cover how to edit and share your screenshots conveniently using the built-in Markup feature.
Using the Side Button and Volume Up Button
For iPhones with a Face ID feature (iPhone X and later), the method to capture a screenshot is slightly different. To take a screenshot, simultaneously press the Side button (previously known as the Sleep/Wake button) located on the side of the device, and the Volume Up button on the opposite side. The screen will flash, indicating that the screenshot has been captured. You can find the screenshot in the Photos app under the Screenshots album. This method is suitable for users with newer iPhone models.
Using the Home Button and Side Button
For iPhones with a Home button (iPhone 8 and earlier), the method to capture a screenshot is slightly different. To capture a screenshot, simultaneously press the Home button located on the front of the device, and the Side button located on the side. The screen will flash, indicating that the screenshot has been captured. You can access the screenshot in the Photos app under the Screenshots album. This method is suitable for users with older iPhone models.
Using the Markup Feature
After capturing a screenshot on your iPhone, you have the option to edit, annotate, or share it using the Markup feature. Immediately after taking a screenshot, a thumbnail of the screenshot will appear in the bottom left corner of the screen. Tap on the thumbnail to open the screenshot in the Markup editor. In Markup, you can use various tools such as a pen, highlighter, text, shapes, and even magnifier. Once you're done editing, tap Done, and you'll have the option to save the edited screenshot or share it directly. The Markup feature makes it convenient to add annotations or make quick edits to your screenshots without the need for third-party apps.
How to Screenshot on Chromebook
Chromebook users can easily capture screenshots using a variety of methods. We will explain how to take screenshots using keyboard shortcuts, the stylus, and the Chromebook's built-in screen capture tool. Whether you're using a Chromebook for work or leisure, these methods will have you capturing screenshots like a pro.
Using Keyboard Shortcuts
Chromebooks offer convenient keyboard shortcuts to capture screenshots quickly. To capture a full-screen screenshot, press Ctrl + Show Windows (the square icon located above the 6 key) simultaneously. The screenshot will be saved in the Downloads folder. For capturing a specific portion of the screen, press Ctrl + Shift + Show Windows. This will change the cursor to a crosshair, allowing you to drag and select the desired area. The selected screenshot will also be saved in the Downloads folder. Keyboard shortcuts make screenshotting on Chromebooks efficient and hassle-free.
Using the Stylus
If you're using a Chromebook with a stylus, you can take advantage of its precise input to capture screenshots. Simply remove the stylus from its holder, and a small toolbar will appear on the right side of the screen. Tap on the Capture Screen option, and the Chromebook will capture a full-screen screenshot. You can access the screenshot from the notification panel or the Files app. The stylus provides a convenient method for capturing screenshots on Chromebooks while offering a more precise selection.
Using the Built-in Screen Capture Tool
Chromebooks also come with a built-in screen capture tool that provides additional options for capturing screenshots. To access the screen capture tool, press the Search key (represented by a magnifying glass or the Google logo) + Shift + S. This will change the cursor to a crosshair, allowing you to select the desired area for the screenshot. After capturing the screenshot, a notification will appear, providing options to annotate, save, or share the screenshot. The built-in screen capture tool is a versatile option for users who prefer an integrated solution for capturing and managing screenshots on Chromebooks.
How to Annotate Screenshots
Taking screenshots is just the first step; the ability to annotate them can enhance their usefulness. In this section, we will explore different tools and applications that allow you to annotate your screenshots with text, arrows, shapes, and more. Whether you need to highlight specific details or provide explanations, annotating screenshots will take your communication to the next level.
Using Built-in Annotation Tools
Many devices and operating systems offer built-in annotation tools that allow you to annotate screenshots without the need for third-party applications. For example, on Windows, the Snipping Tool and Snip & Sketch feature provide basic annotation tools such as pens, highlighters, and text boxes. On Mac, the Preview application offers similar annotation features. Additionally, iOS devices have the Markup feature that allows you to annotate screenshots directly. These built-in tools are convenient for quick and simple annotations.
Using Third-Party Annotation Applications
If you require more advanced annotation features or prefer a dedicated application for annotating screenshots, several third-party options are available. Applications such as Skitch, Greenshot, and Snagit offer a wide range of annotation tools, including arrows, callouts, shapes, blur, and more. These applications often provide additional features like cloud storage, easy sharing options, and advanced editing capabilities. Whether you're a professional or a casual user, third-party annotation applications can cater to your specific needs and enhance your screenshots.
Using Online Annotation Tools
If you prefer a web-based solution or need to annotate screenshots on a device without dedicated annotation tools, online annotation tools can be a convenient option. Websites like Evernote, Lightshot, and Awesome Screenshot offer online annotation tools that allow you to upload and annotate your screenshots directly in your browser. These tools often provide collaboration features, allowing you to share and work on annotated screenshots with others. Online annotation tools are accessible from any device with an internet connection, making them a versatile option for annotating screenshots on the go.
Tips and Tricks for Capturing Screenshots
This section will provide you with valuable tips and tricks that can enhance your screenshot-taking skills. From capturing specific portions of the screen to adjusting screenshot settings, these tips will help you become a screenshot pro. We will also explore lesser-known features and shortcuts that can save you time and effort.
Capturing Specific Portions of the Screen
Often, you may only need to capture a specific portion of the screen instead of the entire display. To do this, utilize the various selection tools available on your device, such as the Snipping Tool on Windows or the crosshair cursor on Mac and Chromebooks. By selecting only the necessary area, you can avoid unnecessary cropping or editing later on.
Adjusting Screenshot Settings
Devices and operating systems often provide settings that allow you to customize your screenshot preferences. For example, on Windows, you can adjust the screenshot format, quality, and save location in the Snip & Sketch settings. On Mac, you can change the default screenshot location and choose whether to include the mouse pointer in your screenshots. Exploring these settings can help you tailor your screenshot-taking experience to your specific needs.
Utilizing Keyboard Shortcuts
Keyboard shortcuts are a quick and efficient way to capture screenshots without the need to navigate through menus or applications. Familiarize yourself with the available keyboard shortcuts for your device and operating system, such as the Print Screen key on Windows or the various combinations on Mac and Chromebooks. Memorizing and utilizing these shortcuts can significantly speed up your screenshot workflow.
Utilizing Delayed Capture
In some scenarios, you may need to capture a screenshot of a specific action or menu that disappears quickly. Delayed capture options are available on various devices and operating systems, allowing you to set a timer before capturing the screenshot. This gives you enough time to trigger the desired action or open the necessary menu before the screenshot is taken.
Using Screenshot Extensions or Add-ons
For users who frequently capture screenshots and require additional features, browser extensions or add-ons can be a valuable asset. These extensions, such as Lightshot, Fireshot, or Awesome Screenshot, enhance your browser's screenshot capabilities by providing advanced annotation tools, direct sharing options, and cloud storage integration. Explore the available options for your preferred browser and find an extension that suits your needs.
Troubleshooting Screenshot Issues
Encountering issues while trying to capture screenshots can be frustrating. In this section, we will troubleshoot common problems you may face, such as screenshots not saving or appearing distorted. By following our troubleshooting steps, you'll be able to overcome these obstacles and continue capturing screenshots without any hassle.
Checking Storage Space
If your device is running low on storage space, it may prevent screenshots from being saved. Ensure that you have enough free storage to save new screenshots. If necessary, delete unnecessary files or transfer them to an external storage device to free up space.
Restarting the Device
Restarting your device can often resolve temporary software glitches that may be causing issues with capturing and saving screenshots. Restart your device and attempt to take a screenshot again to see if the problem persists.
Updating the Operating System
Outdated operating systems can sometimes cause compatibility issues with screenshot functions. Ensure that your device's operating system is up to date by checking for any available updates. Installing the latest updates can address known bugs or issues related to screenshots.
Resetting Screenshot Settings
If you have modified screenshot settings or installed third-party applications that may interfere with the default screenshot function, resetting the settings can help resolve any conflicts. Access the screenshot settings on your device and restore them to their default values. This will ensure that you're using the standard screenshot functions without any interference.
Seeking Device-Specific Troubleshooting
If you're encountering persistent issues with capturing screenshots, it can be helpful to search for device-specific troubleshooting steps or reach out to the device manufacturer's support resources. Device-specific troubleshooting guides or forums can provide further insights into known issues and their solutions.
Screenshot Etiquette and Privacy
While screenshots are incredibly useful, it's essential to be mindful of etiquette and respect privacy when using them. We will discuss best practices for sharing screenshots, obtaining permission when necessary, and avoiding potential legal issues. Understanding screenshot etiquette will ensure you navigate the digital world responsibly.
Obtaining Permission
Before sharing screenshots that involve other individuals or their personal information, it's crucial to obtain their permission. Always respect the privacy and consent of others by seeking permission to capture and share screenshots that involve them. This applies to personal conversations, sensitive documents, or any content that may infringe upon someone's privacy rights.
Blurring or Masking Sensitive Information
When sharing screenshots that contain sensitive or confidential information, take the necessary steps to protect that information. Use image editing tools or built-in features to blur or mask sensitive text, personally identifiable information, or any content that should remain private. This ensures that you're sharing screenshots responsibly and respecting the privacy of others.
Sharing Screenshots Respectfully
When sharing screenshots on social media, online forums, or other public platforms, be mindful of the content and context. Avoid sharing screenshots that may be offensive, defamatory, or infringe upon someone's rights. Additionally, be cautious when sharing screenshots of conversations or content that may contribute to online harassment or cyberbullying. Promote a positive and respectful online environment when using screenshots.
Understanding Copyright and Intellectual Property
Be aware of copyrightand intellectual property laws when using screenshots. Respect the rights of content creators by avoiding the unauthorized use or distribution of copyrighted materials. This includes screenshots of images, text, videos, or any other copyrighted content. If you plan to use screenshots for commercial purposes or in a public setting, ensure that you have the necessary permissions or licenses to do so.
Deleting Screenshots When No Longer Needed
Once you no longer need a screenshot or it has served its purpose, it's good practice to delete it from your device. Regularly review your screenshots and remove any that are no longer necessary. This helps to maintain a clutter-free device, free up storage space, and reduce the risk of accidentally sharing or misusing screenshots in the future.
Respecting Terms of Service and Platform Guidelines
When using screenshots on social media platforms or online services, familiarize yourself with the terms of service and community guidelines. Each platform may have specific rules regarding the sharing of screenshots, intellectual property rights, and privacy. Adhere to these guidelines to ensure that your use of screenshots aligns with platform policies and maintains a positive online presence.
Alternative Methods to Capture Screenshots
Although we have covered the primary methods for capturing screenshots, there are alternative approaches that you might find useful. In this section, we will explore third-party applications, browser extensions, and other tools that offer unique features for taking screenshots. These alternatives may cater to specific needs or preferences, providing you with additional options to consider.
Third-Party Screenshot Applications
There is a wide range of third-party applications available for capturing screenshots, each offering unique features and functionalities. Applications like Greenshot, Lightshot, Snagit, and ShareX provide advanced annotation tools, customizable capture options, and convenient sharing capabilities. These applications often go beyond basic screenshot functions, allowing you to enhance your workflow and increase productivity.
Browser Extensions
Browser extensions can be a helpful alternative for capturing screenshots directly from your web browser. Extensions like Nimbus Screenshot, Awesome Screenshot, and FireShot offer a seamless way to capture and annotate web content. These extensions often integrate with your browser's toolbar, providing quick access to screenshot functions while browsing. If you frequently capture screenshots while browsing the web, browser extensions can streamline your workflow.
Device-Specific Applications
Some devices and operating systems have their own dedicated applications for capturing screenshots. For example, Samsung devices have a built-in feature called Smart Capture, which allows you to capture scrolling screenshots, annotate them, and share them directly. Explore the unique features and capabilities of your specific device and operating system to find advanced screenshot applications that cater to your needs.
Cloud-Based Screenshot Tools
If you work across multiple devices or prefer a cloud-based solution for managing your screenshots, there are cloud-based screenshot tools available. Applications like CloudApp, Droplr, and Gyazo allow you to capture screenshots and instantly upload them to the cloud. These tools provide easy sharing options, collaborative features, and the ability to access your screenshots from any device with an internet connection.
Integrated Note-Taking Applications
Some note-taking applications, such as Evernote, OneNote, and Notion, offer built-in screenshot capabilities. These applications allow you to capture screenshots, organize them with your notes, and add annotations or comments. If you frequently take screenshots as part of your note-taking or research process, using an integrated note-taking application can streamline your workflow and keep all your information in one place.
In conclusion, knowing how to take screenshots is an essential skill for anyone using digital devices. Whether you're a Windows, Mac, Android, or iPhone user, this comprehensive guide has covered various methods and tips to help you capture screenshots effortlessly. From using keyboard shortcuts and built-in tools to exploring third-party applications and alternative methods, you now have a range of options to suit your specific needs. Remember to always respect privacy, adhere to copyright laws, and use screenshots responsibly. So, start utilizing this valuable feature today and make the most out of your digital experiences!
Comments
Post a Comment